In this Photoshop tutorial, we'll make a nice old paper image. You'll learn how to make it, too, following instructions. Let's start.
Open AdobePhotoshop. Open New document, 150x200 pixels with white background.
Create a new layer, pick Rectangular Marquee Tool, mark and paint selection in black. Just like on this image.
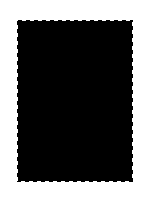
Deselect. Go to FILTER - BRUSHED STROKES - SPRAYED STROKES , and set:
Stroke Length to 10
Spray Radius to 15
Stroke Direction - Horizontal.
In Tools, pick "Magic Wand" and click inside black rectangular. Now, invert selection and click Delete. Deselect.
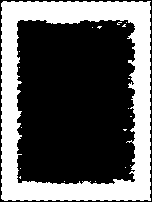
Go again from "FILTER - BRUSHED STROKES - SPRAYED STROKES" part but instead Stroke Direction Horizontal pick "Right Diagonal". Play with sliders a little to make nice effect.
CTRL + click on layer and pick Red:240, Green:225, Blue:205 color. Paint black rectangular.
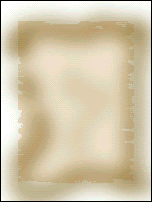
Make new layer. In brush, pick Soft brush 45. Opacity to 20%. Mix Red:116, Green:74, Blue:0 color and paint edges.
CTRL Click on rectangular layer to load selection, invert it and delete.
Link layers and merge linked.
Go to FILTER - EFFECTS - Outer Glow. Mode - normal.
Opacity - 75%.
Blur - 1 pixels.
Intensity - 50%.
Now, go to FILTER - EFFECTS - Drop Shadow.
Mode - multiply.
Opacity - 50%.
Angle 135
Distance 7 pixels.
Blur 6.
Intensity 0%.
Now go to IMAGE - ADJUST - Brightness/Contrast, and add picture or text.
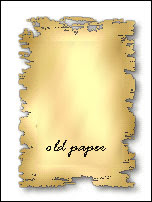
You just made old paper in Photoshop for your usage.Labels: photoshop, tutorial |


Somewhere a step is missing. I've followed this tutorial over and over again and somewhere between the second time going to filter>brush stroke and the end, there is a mistake or typo. Something is amiss. Could you go back over this again and edit? This is the only paper tutorial I have been able to find.